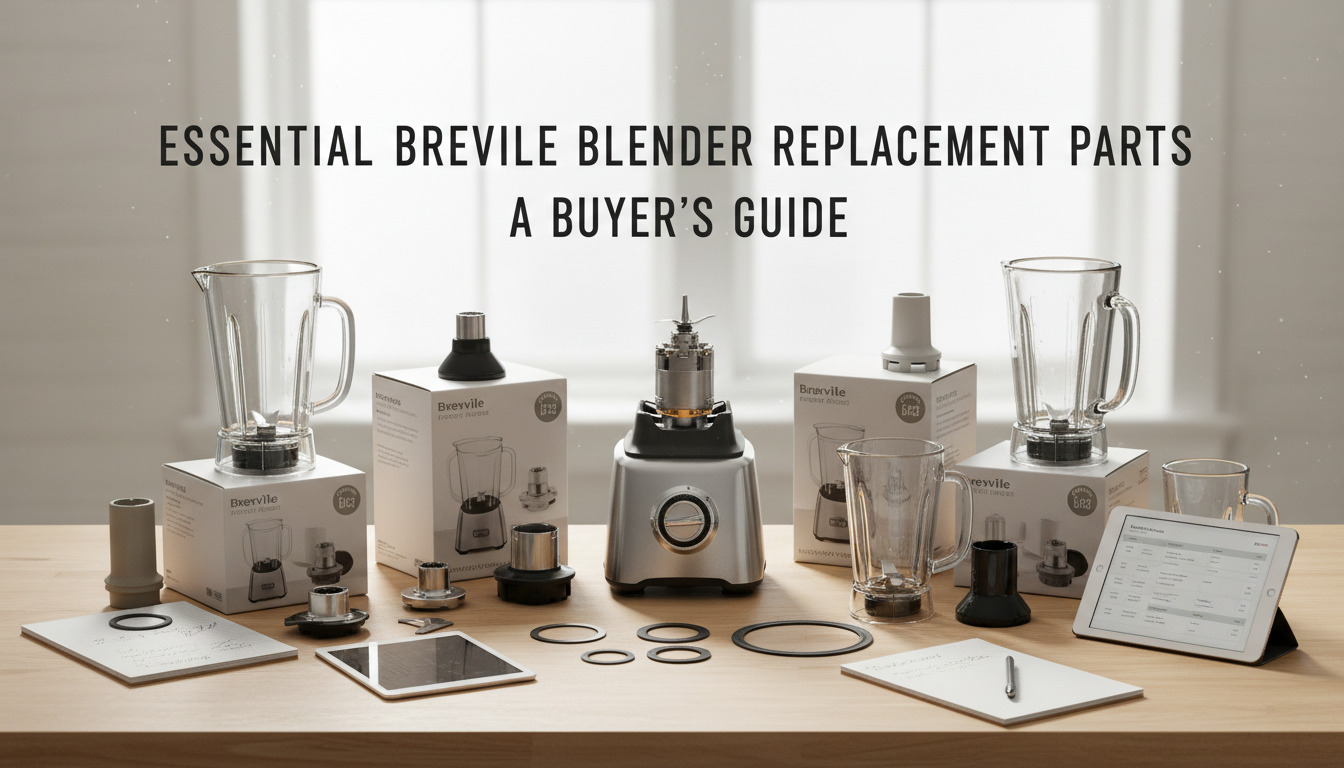
KitchenAid Blender Parts: What to Replace and How to Choose
Revitalize Your Blender: A Guide to KitchenAid Replacement Parts
KitchenAid blenders are often valued for their robust construction and performance, representing a significant investment in your kitchen. When a part fails, the immediate thought might be to replace the entire appliance. However, many common issues can be resolved through strategic kitchenaid blender parts replacement, extending your blender's lifespan and maintaining its utility.
Over time, even durable appliances experience wear and tear. Components like the blade assembly, blender jar, lid, or the crucial drive coupler can degrade from frequent use or accidental damage. Repairing these specific parts offers several advantages: it's often more cost-effective than purchasing a new blender, reduces electronic waste, and allows you to continue using an appliance you're already familiar with.
This guide empowers you to confidently approach DIY repairs. You'll learn how to accurately diagnose common blender malfunctions, identify the specific replacement parts needed for your KitchenAid model, and understand the critical factors for selecting compatible and durable components. By the end, you'll be equipped to make informed decisions, ensuring your KitchenAid blender continues to perform reliably for years to come.
Diagnosing the Problem: Common KitchenAid Blender Malfunctions
Understanding the symptoms your KitchenAid blender exhibits is the first step toward identifying the correct replacement part. Many issues can be traced to specific components, allowing for targeted repair rather than full appliance replacement. Pinpointing the malfunction helps ensure you select a compatible and necessary part, avoiding unnecessary purchases.
Consider the following common issues and their most likely culprits:
- Blades Not Spinning or Turning: If the motor runs but the blades remain stationary, the drive coupler is often the issue. This small rubber or plastic component connects the motor's drive shaft to the blade assembly. Over time, it can wear down, strip, or disintegrate, preventing power transfer. If the motor doesn't run at all, the problem could be more complex, potentially involving the motor itself or its control assembly.
- Leaking from the Bottom of the Jar: A leak typically indicates a compromised seal. This could be due to a worn or damaged gasket (often part of the blade assembly or a separate sealing ring), or a hairline crack in the blender jar itself, particularly near the base where it connects to the blade assembly.
- Dull or Inefficient Blending: If your blender struggles to process ingredients, leaving chunks or failing to achieve a smooth consistency, the blades may be dull or damaged. Repeated use, especially with hard ingredients like ice, can wear down the blade edges, reducing their effectiveness.
- Cracked or Broken Jar: Visible damage to the blender jar, such as cracks or chips, usually results from impact or thermal shock (rapid temperature changes). A compromised jar not only leaks but can also be unsafe to use.
- Lid Not Sealing Properly: A lid that doesn't fit snugly or allows contents to splash out during operation may have a worn-out rubber seal or gasket. In some cases, the lid itself might be warped or damaged, preventing a secure closure.
- Blender Not Turning On: If your KitchenAid blender is completely unresponsive, first check the power source. Ensure it's plugged into a working outlet. If power isn't the issue, the problem could stem from a tripped thermal overload, which is a safety mechanism designed to prevent overheating. Allow the unit to cool down for about 30 minutes before trying again. Persistent power failure may indicate a fault with the motor or the control assembly.
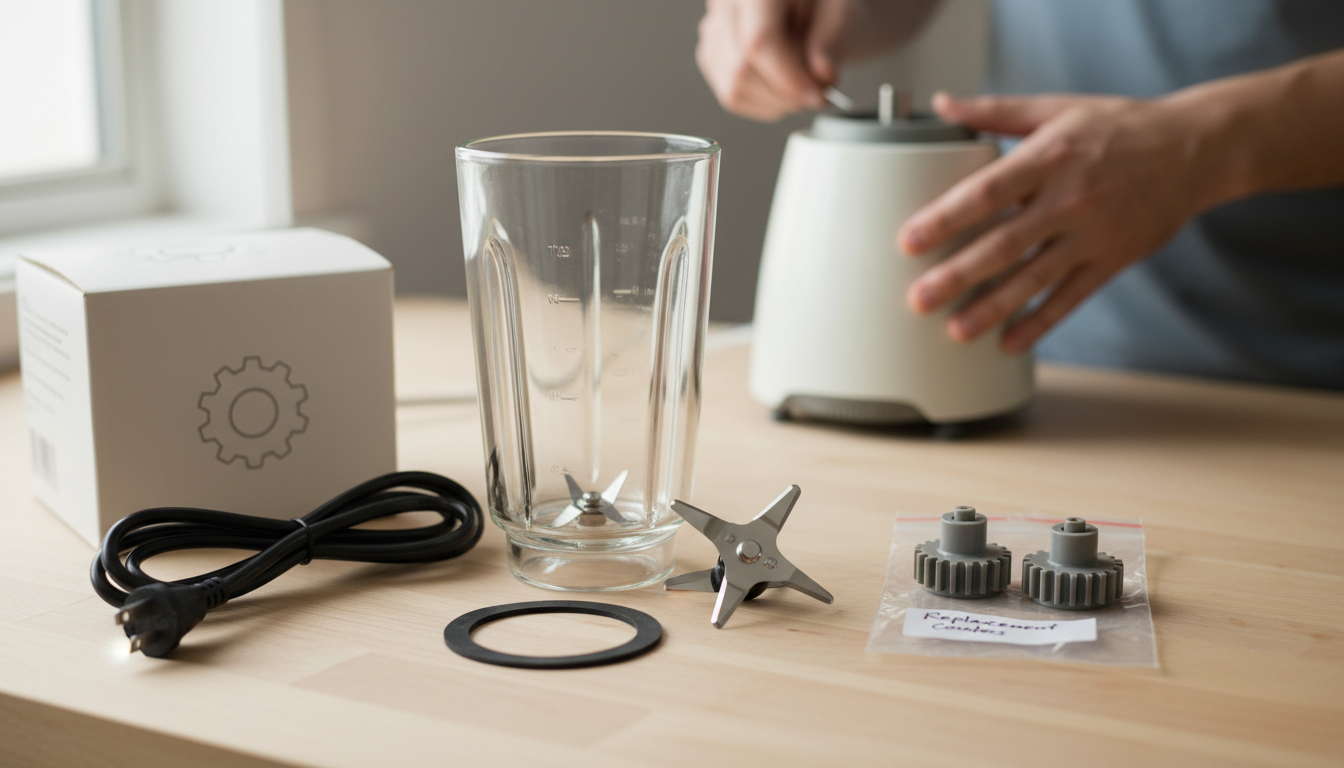
Key KitchenAid Blender Replacement Parts and Their Functions
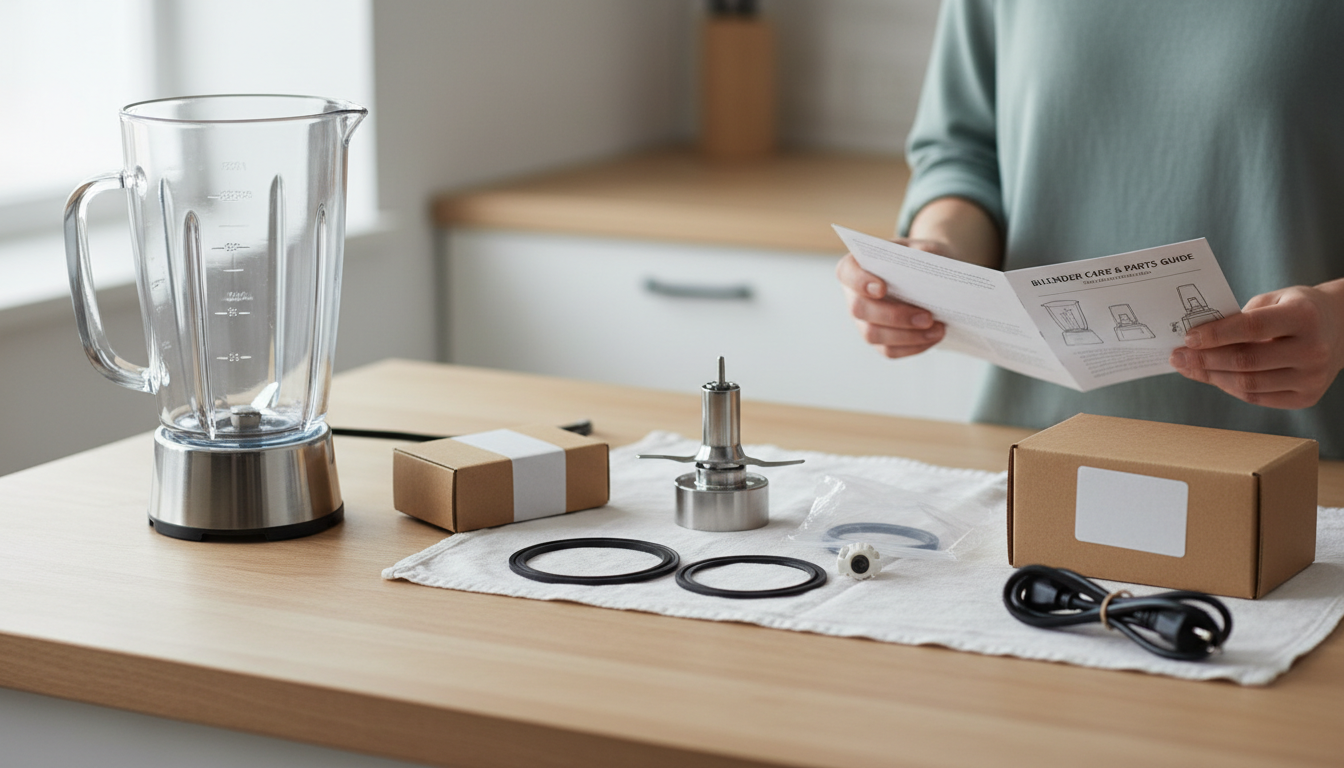
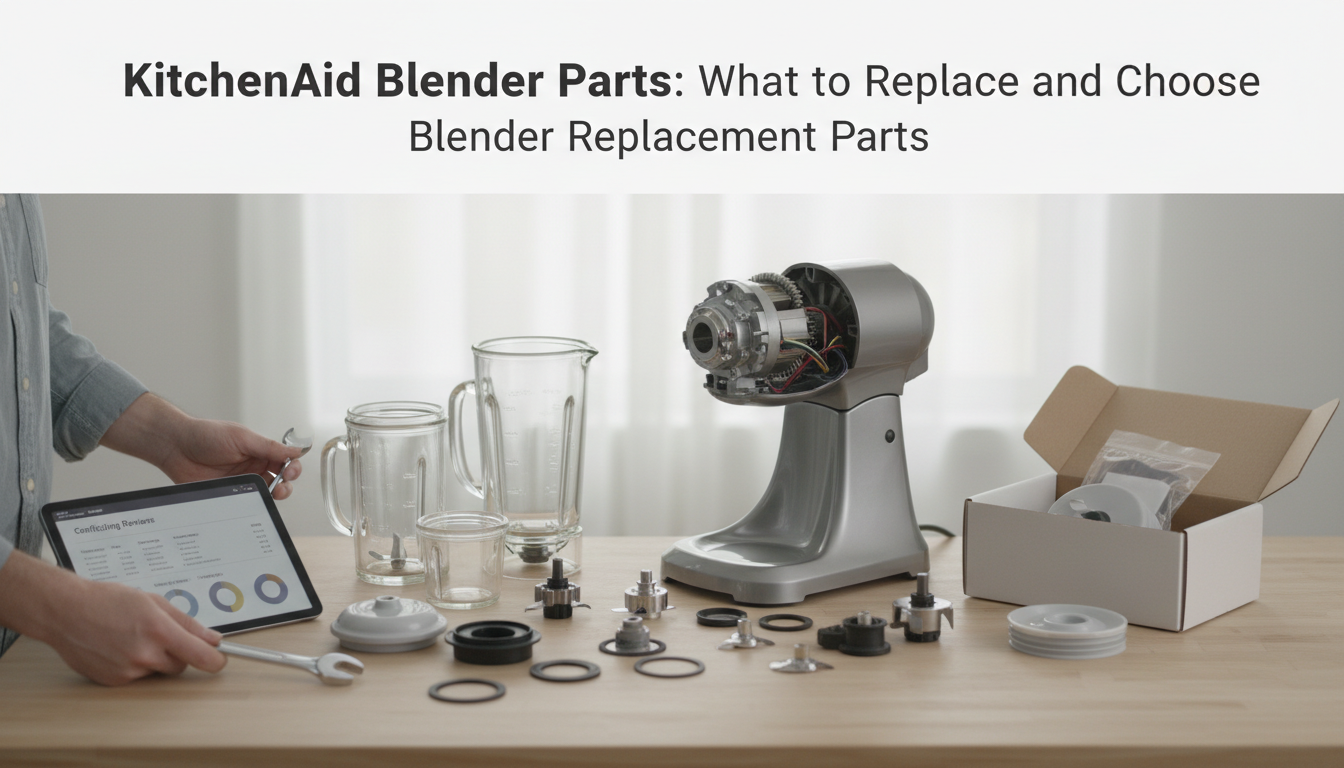
Understanding the role of each component in your KitchenAid blender is crucial for accurately diagnosing issues and selecting the appropriate replacement part. Each piece contributes to the blender's overall performance, and recognizing signs of wear or damage can guide your repair decisions.
-
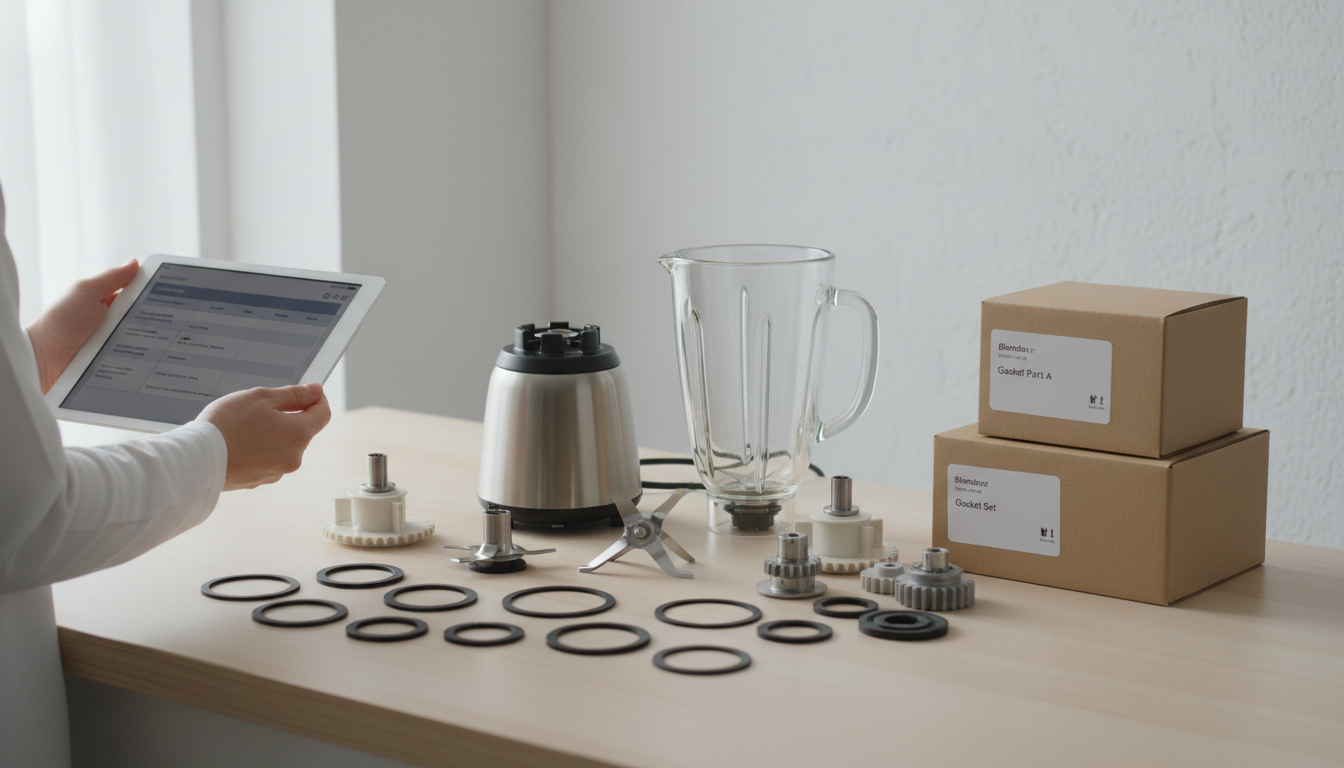
Blades and Blade Assemblies
- Function: These are the primary cutting tools, responsible for pulverizing and blending ingredients. The assembly typically includes the blades, a base, and sometimes a seal.
- Signs of Wear: Dull blades that struggle to process ingredients, nicks or bends, unusual grinding noises during operation, or leakage from the blade assembly's base.
- Types: KitchenAid offers various blade designs, including general-purpose blades for everyday blending and specialized ice-crushing blades. Ensure the replacement matches your original assembly's design and intended use.
- Considerations: Verify the number of blades and the material, typically stainless steel, for durability. The base design must correctly thread onto your blender jar.
-
Blender Jars
- Function: The container that holds ingredients during blending.
- Materials: KitchenAid jars are commonly made from durable plastic or glass. Plastic offers shatter resistance and lighter weight, while glass provides scratch resistance and is less prone to absorbing odors or stains over time.
- Capacity: Jars come in various capacities. When replacing, ensure the new jar matches your blender model's specifications for proper fit and function.
- Compatibility: The jar's base must align perfectly with your blender's motor housing and accommodate the blade assembly for a secure, leak-proof fit.
-
Couplers (Drive Couplings)
- Function: This small, often rubber or plastic component transfers rotational power from the blender's motor to the blade assembly.
- Common Failure: A frequent point of failure, couplers can wear down, shred, or disintegrate over time due to friction and stress. This often results in the motor running but the blades not spinning.
- Material Differences: While many are rubber, some replacements may feature different plastic or composite materials, which can affect their longevity.
- Importance: A functional coupler is essential for the blender to operate. Its replacement is often a straightforward DIY repair.
-
Gaskets and Seals
- Function: These rubber or silicone rings create a watertight seal between the blade assembly and the blender jar, preventing leaks during operation.
- Material Quality: High-quality, food-grade materials are crucial for durability and effective sealing. Degradation (cracking, hardening, or stretching) directly leads to leaks.
- Proper Fitting: The gasket must be correctly seated within the blade assembly or jar rim to form a tight seal.
-
Lids
- Function: The lid secures the jar during blending, preventing splashes and ensuring safety. Many KitchenAid lids include a removable measuring cup insert.
- Ensuring a Secure Seal: A well-fitting lid is vital for containing ingredients, especially during high-speed blending or when processing hot liquids.
- Different Lid Types: Depending on your specific model, lids may feature pour spouts, vents, or different styles of inserts. Ensure the replacement lid matches your jar's design for a snug fit.
While less common for DIY replacement due to their complexity, critical internal components like the motor or control assemblies can also fail. Issues such as the blender not turning on, inconsistent power, or unusual electrical smells might indicate a problem with these parts. Such replacements often require advanced technical skills or professional service, as they involve electrical components and intricate assembly.
Selecting the Right Replacement: Compatibility, Quality, and Value
Choosing the correct replacement part for your KitchenAid blender is a critical step in a successful DIY repair. This decision involves more than just finding a component that looks similar; it requires careful consideration of compatibility, material quality, and the long-term value it offers. A thoughtful selection ensures your blender returns to optimal function and continues to serve your kitchen needs reliably.
Pinpointing Your Blender's Identity: The Model Number
The cornerstone of successful part replacement is accurately identifying your specific KitchenAid blender model. KitchenAid produces a diverse range of blenders, and parts are rarely universal across all models. An incorrect part, even if it appears similar, may not fit properly, function safely, or could even damage your appliance.
- Why it's crucial: Each blender model often has unique dimensions, power requirements, and design specifications for its components. A part designed for one series may not align with another, leading to poor performance or incompatibility.
- Where to find it: The model number is typically located on a label affixed to the underside or back of the blender's motor base. It might also be found on the original packaging or in the owner's manual. Ensure you note down the complete model number, including any letters or dashes, as these often denote specific variations.
Original vs. Alternative Components: Weighing Your Options
When searching for replacement parts, you'll generally encounter two categories: Original Equipment Manufacturer (OEM) parts and aftermarket (or third-party) parts. Each comes with its own set of advantages and trade-offs.
- Original Equipment Manufacturer (OEM) Parts: These are manufactured by KitchenAid or by a company contracted by KitchenAid to meet their exact specifications.
- Pros: Guaranteed compatibility, often manufactured to original quality standards, and may maintain any remaining warranty on your appliance.
- Cons: Typically higher in cost, and availability can sometimes be limited for older or discontinued blender models.
- Aftermarket (Third-Party) Parts: These are produced by independent manufacturers.
- Pros: Often more affordable, wider availability, and sometimes offer design improvements or material upgrades (e.g., reinforced drive couplers).
- Cons: Quality can vary significantly, potential for fit issues, and may not always meet the original manufacturer's specifications. Using aftermarket parts might also affect any existing warranty.
The decision often comes down to balancing cost savings against the assurance of fit and consistent quality.
The Substance of Your Selection: Material Quality
The materials used in replacement parts directly impact their durability, performance, and safety. Evaluating these aspects is crucial for long-term satisfaction.
- Blades: Look for high-grade stainless steel. Blades should be robust enough to withstand repeated impact with ingredients without dulling quickly or corroding. The design of the blade assembly also matters for efficient blending.
- Jars: Blender jars are commonly made from glass or BPA-free plastic.
- Glass jars: Offer scratch resistance and are less prone to staining or absorbing odors. They are heavier and can shatter if dropped.
- BPA-free plastic jars: Lighter and more shatter-resistant, making them safer from accidental drops. Ensure the plastic is certified BPA-free for food safety.
- Drive Couplers: This component, often made of rubber or plastic, connects the motor to the blade assembly. As a common point of failure, particularly for older models where the rubber can disintegrate, consider options made from more durable materials or those with metal reinforcement if available.
- Lids and Gaskets: These components ensure a tight seal during operation. Look for flexible, food-grade materials that will create a secure, leak-proof fit and withstand repeated use and cleaning.
Ensuring a Seamless Fit and Optimal Performance
Beyond material quality, confirming that the replacement part will perfectly integrate with your specific blender model is paramount.
- Cross-Reference Part Numbers: If possible, locate the part number on your existing component or in your blender's manual. Match this number precisely with the replacement part's listing.
- Utilize Diagrams: Many online parts retailers provide exploded diagrams of KitchenAid blenders. Use these visual aids to confirm the exact appearance and position of the part you intend to replace.
- Detailed Product Descriptions: Read all product specifications carefully. Look for explicit mentions of compatible KitchenAid blender models or series.
- Consult User Reviews: While not a substitute for official compatibility information, reviews from other KitchenAid owners can sometimes highlight fit issues, material concerns, or unexpected performance problems with specific replacement parts.
- Risk of Imperfect Fit: Even minor discrepancies in size or design can lead to inefficient operation, increased wear on other components, or even safety hazards. Prioritize an exact fit to ensure long-term durability and consistent performance from your repaired blender.
DIY Replacement: What to Know Before You Start
Undertaking a do-it-yourself repair for your KitchenAid blender can be a cost-effective way to extend its life, but it requires careful preparation and adherence to safety protocols. Before beginning any repair, ensure you have the necessary information and tools, and understand the potential complexities involved.
- Prioritize Safety: Always disconnect your KitchenAid blender from the power outlet before attempting any inspection or repair. This prevents accidental activation and reduces the risk of electrical shock. When handling parts like the blade assembly, exercise extreme caution; blades are sharp and can cause injury. Consider wearing protective gloves.
- Consult Your Resources: KitchenAid blenders come in various models, each with specific design nuances. Locating your blender's model number (often found on the base) is crucial.
- Manufacturer's Website: KitchenAid's official site often provides user manuals, troubleshooting guides, and sometimes even service manuals or exploded diagrams for their appliances.
- Parts Suppliers: Reputable online parts retailers frequently host model-specific DIY manuals, videos, and parts diagrams that can guide you through disassembly and reassembly. These resources can illustrate the exact steps for replacing common components like the drive coupler or blade assembly.
- Basic Tool Requirements: Most common KitchenAid blender repairs, such as replacing a drive coupler or jar, require only a few fundamental tools.
- Screwdrivers: Phillips and flathead screwdrivers are typically needed for removing housing screws.
- Pliers: Useful for gripping small components or loosening stubborn parts.
- Wrenches: Depending on the model, a small wrench might be necessary for specific fasteners.
- Work Surface: A clean, well-lit area helps prevent losing small parts.
- Disassembly and Reassembly Best Practices: As you take your blender apart, meticulous organization can prevent issues during reassembly.
- Document Steps: Take photos or videos at each stage of disassembly to serve as a visual guide for putting it back together.
- Organize Fasteners: Keep screws and other small parts organized, perhaps in labeled containers or compartments, noting where each piece came from.
- Proper Torque: When reassembling, avoid over-tightening screws or components, as this can strip threads or crack plastic housings.
- Assess When to Seek Help or Replace: While many repairs are manageable, some issues are beyond the scope of a typical DIY fix.
- Complex Electrical Issues: Problems with the motor, control board, or internal wiring often require specialized knowledge and diagnostic tools. If your blender isn't turning on or has inconsistent power, and basic checks like the power outlet are clear, it might indicate a more complex internal failure.
- Significant Damage: If the blender's main housing is cracked, the motor emits smoke, or there's extensive internal damage, the cost and effort of repair might outweigh the value of the appliance.
- Professional Service: For intricate repairs or if you're uncomfortable with the process, consider consulting a qualified appliance repair technician. They can diagnose problems accurately and ensure repairs are done safely.
- Replacement Consideration: Weigh the cost of parts and your time against the price of a new blender, especially if your current model is older or if multiple components require replacement.
Potential Pitfalls and What to Avoid When Replacing Parts
While DIY repair can be empowering and cost-effective, approaching KitchenAid blender part replacement without careful consideration can lead to further frustration, expense, or even safety hazards. Understanding common pitfalls helps ensure a successful repair.
The Risk of Incompatible or Subpar Components
One of the most significant risks in DIY blender repair is selecting parts that don't precisely match your KitchenAid model or are made from inferior materials.
- Incorrect Fitment: KitchenAid blenders, even within the same series, can have subtle variations in their components. An incorrectly sized blade assembly might not seat properly, leading to leaks, excessive vibration, or damage to the motor shaft. A drive coupler designed for one model might not engage correctly with another, causing premature stripping or grinding.
- Low-Quality Materials: Aftermarket parts, while sometimes cheaper, may not meet KitchenAid's original material specifications. For instance, a drive coupler made from brittle plastic rather than durable rubber or reinforced composite can quickly disintegrate under the blender's torque, leading to immediate failure and potential damage to the motor. Similarly, blades made from lower-grade stainless steel can dull quickly or even chip, posing a safety risk.
- Counterfeit Parts: The market sometimes includes counterfeit parts that mimic genuine components but lack quality control. These items often fail prematurely, offer poor performance, and can void any remaining warranty. Always purchase from authorized retailers or reputable parts suppliers to minimize this risk. Look for official branding, quality packaging, and consistent product descriptions.
When DIY Might Not Be Enough
While many common issues like a worn drive coupler or a cracked jar are suitable for DIY repair, some problems indicate a deeper, more complex malfunction that may exceed the scope of a home repair.
- Motor or Electrical Issues: If your blender fails to turn on, makes unusual grinding noises unrelated to the blade, or emits a burning smell, the problem might lie within the motor or electrical control assembly. These repairs often require specialized tools, electrical knowledge, and can be hazardous for an inexperienced individual.
- Extensive Damage: If multiple components are damaged, or if the cost of replacement parts (e.g., a new motor, control board, and jar) approaches the price of a new blender, it might be more economical and practical to invest in a new appliance.
- Safety Concerns: If you are unsure about any step of the repair process, or if the repair involves exposed wiring or significant disassembly, it's safer to consult a professional appliance repair technician.
Understanding Warranty Implications
Before attempting any DIY repair, it's crucial to consider the status of your KitchenAid blender's warranty.
- Voiding Your Warranty: Most manufacturer warranties include clauses that state unauthorized repairs or the use of non-genuine parts will void the warranty. If your blender is still under its original warranty period, attempting a DIY fix could eliminate your eligibility for official service or a replacement from KitchenAid.
- Review Documentation: Always refer to your blender's original warranty documentation or KitchenAid's official website to understand the specific terms and conditions.
- Contact Manufacturer First: If your blender is still under warranty and experiencing issues, the safest and often most cost-effective approach is to contact KitchenAid customer service directly. They can guide you through authorized repair options or, if applicable, arrange for a replacement.
Frequently Asked Questions About KitchenAid Blender Parts
Navigating replacement parts for your KitchenAid blender can raise several questions. Addressing these common queries helps clarify the repair process and empowers you to make informed decisions about maintaining your appliance.
-
How do I find my KitchenAid blender model number? Your KitchenAid blender's model number is crucial for finding compatible replacement parts. Look for a label, typically located on the underside or base of the blender's motor housing. This label usually contains the model number (often starting with "KSB"), serial number, and other electrical specifications.
-
Are aftermarket parts as good as OEM parts? Original Equipment Manufacturer (OEM) parts are produced by KitchenAid or its authorized partners, designed for an exact fit and consistent performance. Aftermarket parts are made by third-party manufacturers. While often more budget-friendly, their quality, precise fit, and durability can vary. Using non-OEM parts might also affect any remaining warranty on your appliance. Weigh the cost savings against potential variations in performance and longevity.
-
Can I replace just the blade or do I need the whole assembly? For most KitchenAid blenders, the blade is an integrated component of a larger blade assembly. This assembly typically includes the blade, a sealing gasket, and a threaded base that secures it to the blender jar. It is generally not practical or possible to replace only the blade itself; you will almost always need to purchase and replace the entire blade assembly to ensure proper sealing and function.
-
How often should I replace my blender's gasket or coupler? Gaskets and couplers are wear-and-tear components designed to absorb stress and provide seals. Their lifespan depends heavily on usage frequency, blending intensity, and cleaning practices. There is no fixed replacement schedule. Instead, look for signs of wear:
- Gasket: Leaks from the bottom of the blender jar, visible cracks, hardening, or fraying.
- Coupler: Grinding noises, failure of the blades to spin while the motor runs, or visible disintegration of the rubber or plastic material. Regular inspection can help identify when replacement is due.
-
When should I consider replacing my entire KitchenAid blender instead of just parts? Consider replacing your entire KitchenAid blender when the cost of necessary replacement parts, particularly for major components like the motor or control assembly, approaches or exceeds the cost of a new blender. If multiple critical parts fail simultaneously, or if the appliance is very old and other components show significant wear, investing in a new blender might offer better long-term value, updated features, and a fresh warranty.
Making Your Decision: Confident KitchenAid Blender Repair
You've navigated the intricacies of KitchenAid blender parts, from diagnosing common issues to understanding the nuances of selection. Now, armed with this knowledge, you are ready to make informed decisions about your appliance's repair. The confidence to proceed stems from a careful, evidence-based approach to part identification and procurement.
Your decision should hinge on three critical factors: precise compatibility with your specific KitchenAid blender model, the inherent quality of the replacement part to ensure durability, and the safety of its operation once installed. Always confirm model numbers and part specifications, as even slight variations can lead to improper fit or function. Prioritizing quality, whether from genuine sources or reputable aftermarket providers, helps ensure the repair endures.
Successfully repairing your KitchenAid blender offers tangible benefits—significant cost savings compared to purchasing a new appliance, and the satisfaction of extending the life of a valuable kitchen tool. This DIY approach reduces electronic waste and keeps your familiar, reliable blender performing as intended. By making an informed choice and carefully executing the replacement, you not only address an immediate problem but also contribute to the longevity and continued performance of your KitchenAid appliance.