Oster Blender Replacement Parts: What to Look For to Restore Performance
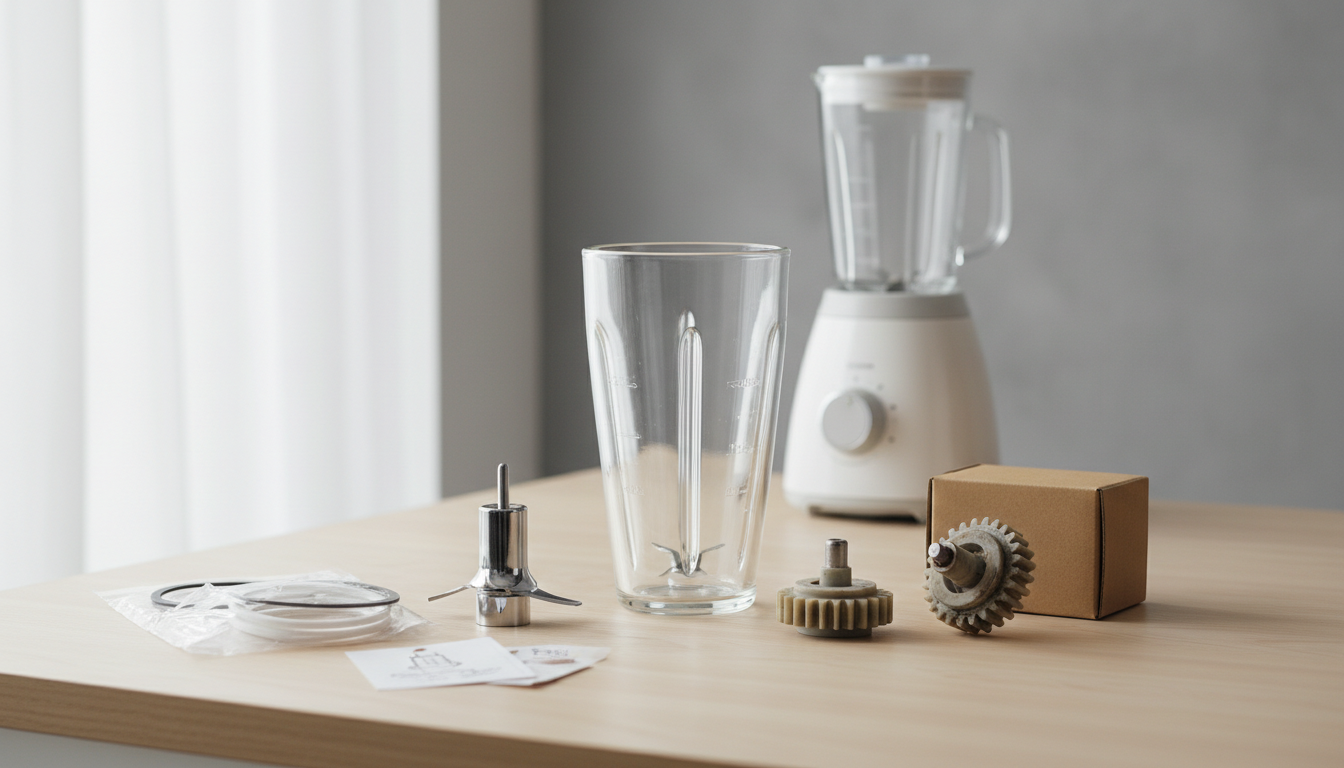
Restore Your Oster Blender: A Guide to Finding the Right Replacement Parts
Oster blenders are a common fixture in many kitchens, valued for their consistent performance in tasks from smoothies to sauces. Over time, however, frequent use can lead to wear and tear on various components. Dull blades, leaky gaskets, or damaged jars can diminish your blender's efficiency and overall functionality.
Rather than investing in an entirely new appliance, replacing specific parts offers a practical and often more economical solution. This approach allows you to extend the lifespan of your existing Oster blender, restoring its performance while potentially saving money and reducing waste. Key components that frequently require replacement include:
- Blade assemblies: For effective chopping and blending.
- Blender jars: To contain ingredients without leaks or cracks.
- Sealing gaskets: Essential for preventing leakage during operation.
- Drive couplings: To ensure proper power transfer from the motor.
This guide will help you identify common issues that affect Oster blenders and provide criteria for selecting the correct replacement parts. We will focus on ensuring compatibility with your specific model, assessing the quality of materials, and making informed choices to confidently restore your blender's peak performance.
Diagnosing Common Oster Blender Issues and Their Corresponding Parts
Accurately identifying the root cause of your Oster blender's malfunction is the first step toward an effective and efficient repair. Rather than guessing, observing specific symptoms can pinpoint exactly which component requires replacement, preventing unnecessary purchases and ensuring your blender returns to optimal performance. Each common issue often correlates directly with the wear or failure of a particular part.
Blade Performance Degradation
If your Oster blender struggles to process ingredients, leaves chunks, or produces an inconsistent texture, the blade assembly is often the culprit. Symptoms include a noticeable dullness of the blades, visible nicks or bends, or even complete breakage of one or more blades. Over time, even sharp blades can lose their edge, impacting their ability to chop and pulverize effectively. Poor blending performance, especially with harder ingredients or ice, is a strong indicator that a new blade assembly is needed to restore efficient processing.
Persistent Leakage
Leaks from the base of your Oster blender jar during operation indicate a compromise in the sealing system. The primary components involved in preventing leaks are the rubber gasket and the jar base. A worn, cracked, or improperly seated gasket can allow liquids to escape. Similarly, a hairline crack in the plastic jar base, or damage to its threading, can prevent a tight seal with the blade assembly and jar, leading to spills. Depending on the exact point of leakage, you may need a new gasket, a new jar base, or both to re-establish a watertight seal.
Compromised Blender Jar Integrity
Physical damage to the blender jar itself can significantly impair its functionality and safety. Visible cracks, chips, or excessive cloudiness that doesn't clear with cleaning are clear signs of a damaged jar. Cracks, even minor ones, can expand under the stress of blending, potentially leading to leaks or complete failure. Cloudiness might indicate material degradation, which can affect both appearance and long-term durability. Replacing a damaged jar is crucial for safe operation and maintaining hygienic conditions.
Motor Coupling Malfunctions
When your Oster blender's motor runs but the blades fail to spin, or if you hear grinding noises from the base, the motor coupling is likely at fault. This small, often rubber or plastic gear connects the motor's drive shaft to the blade assembly. Overuse or blending overly thick mixtures can strip the teeth of the coupling, preventing power transfer. A stripped coupling will cause the motor to spin freely without engaging the blades, or produce a distinct grinding sound as the damaged gears attempt to connect. Replacing a stripped motor coupling is essential for the blade assembly to receive power and rotate.
Accurately diagnosing the specific issue based on these symptoms allows for a targeted repair, ensuring you select the correct replacement part to effectively restore your Oster blender's functionality.
Ensuring Compatibility: Matching Replacement Parts to Your Oster Blender Model
Once you've identified the specific component causing your Oster blender's performance issue, the next critical step is to verify that any replacement part is fully compatible with your exact model. An incorrect part can lead to further problems, rendering your repair effort ineffective.
To confidently select the right replacement part, follow these criteria:
- Locate Your Blender's Model Number: This is the most crucial piece of information. The model number is typically found on the underside of the blender's motor base, often on a label or stamped into the plastic. It uniquely identifies your blender and is essential for cross-referencing with replacement part specifications.
- Identify Your Oster Blender Series: Oster manufactures blenders across several distinct series, such as the 'Classic Series', 'Pro Master', or 'Versa' models. Parts are generally not interchangeable between these different product lines. For example, a jar or blade designed for a 'Classic Series' blender will not fit a 'Pro Master' or 'Versa' model. Always check if the replacement part explicitly states compatibility with your blender's specific series.
- Verify Part Specifications Against Your Existing Component:
- Size and Shape: Compare the dimensions and form factor of the replacement part with your original component. This is especially important for jars, lids, and blade assemblies.
- Attachment Mechanism: Examine how the part connects to the blender. For blade assemblies and jar bases, ensure the threading or coupling mechanism matches precisely. For gaskets, confirm the diameter and thickness.
- Number of Blades/Pins: For blade assemblies or drive couplings, count the number of blades or pins and compare their arrangement.
- Review Product Descriptions Thoroughly: Always read the replacement part's product description carefully. Look for explicit mentions of compatible Oster model numbers or series names. If the information is unclear, comparing images of the replacement part to your existing component can provide additional visual confirmation.
Failing to ensure precise compatibility can lead to several common pitfalls, including a poor fit that compromises stability, leakage from incorrectly sized gaskets or jar bases, or even damage to your blender's motor if an incompatible drive coupling is forced. An incompatible purchase ultimately results in wasted time and resources.
Essential Oster Blender Parts: What to Look for in Blades, Jars, and Gaskets
When selecting replacement parts for your Oster blender, focusing on the specific attributes of blades, jars, and gaskets can significantly impact your blender's restored performance and longevity. Each component plays a critical role in the blending process, and informed choices can prevent common issues like leaks or inefficient processing.
Blender Blades:
The blade assembly is central to your blender's ability to process ingredients effectively. When seeking a replacement, consider the following:
- Blade Material: Stainless steel is a preferred material for blender blades due to its inherent durability and resistance to corrosion. Blades made from high-quality stainless steel maintain their edge longer, contributing to consistent blending performance over time.
- Blade Configuration: Oster blenders commonly feature a 4-blade design, which is versatile for general use, including smoothies, sauces, and crushing ice. For users who frequently process harder ingredients or ice, ensuring the replacement blade is specifically designed with robust ice-crushing capability can be crucial for maintaining performance.
- Quality of the Blade Assembly and Seal: The blade is part of a larger assembly that typically includes a base and a sealing gasket. The overall quality of this assembly is vital. A well-constructed base ensures a secure fit to the jar, while a high-quality rubber O-ring or gasket is essential for creating a watertight seal, preventing leaks during operation. Issues like leakage are often linked to a compromised seal within this assembly.
Blender Jars:
The blender jar holds your ingredients and must withstand the forces of blending while maintaining a secure connection to the base.
- Jar Material:
- Glass: Offers durability, scratch resistance, and is less prone to staining or absorbing odors from ingredients. It also provides a clear view of the blending process. However, glass jars are heavier and more susceptible to breakage if dropped.
- Plastic: Typically lighter in weight and more shatter-resistant than glass. However, some plastic jars may be more prone to scratching, staining, or clouding over time, potentially affecting their appearance and hygiene.
- Capacity: Oster blenders often come with a standard 6-cup (approximately 1.4-liter) capacity jar. When replacing, ensure the new jar matches your original model's capacity or meets your specific needs without exceeding the blender's motor capabilities.
- Lid Compatibility and Secure Fit: A crucial, yet often overlooked, aspect is the lid. The replacement jar must be designed to accommodate your existing lid, or come with a compatible lid, ensuring a tight and secure fit. A poorly fitting lid can lead to spills, safety hazards, and an inefficient blending environment.
Installation and Maintenance: Getting the Most Out of Your New Oster Parts
Once you've identified and acquired the correct replacement parts for your Oster blender, proper installation and ongoing maintenance are crucial for restoring performance and extending the lifespan of both the new components and the appliance as a whole. Incorrect installation can lead to immediate issues like leaks or poor blending, while neglecting maintenance can shorten the life of even new parts.
Step-by-Step Installation Basics
Before beginning any work, always unplug your Oster blender from the power source to prevent accidental activation.
- Disassembly: Carefully remove the worn or broken part. For blade assemblies, this typically involves unscrewing the jar base from the bottom of the blender jar, then removing the blade and gasket. For drive couplings, consult your specific model's manual as this may involve accessing the motor base.
- Cleaning: Thoroughly clean any debris or residue from the surrounding areas where the new part will be seated. This ensures a clean fit and prevents contamination.
- Reassembly: Install the new part, ensuring it aligns correctly. For blade assemblies, place the gasket, then the blade, and finally screw on the jar base. Hand-tighten securely but avoid over-tightening, which can strip threads or damage components.
Preventing Leaks: Gasket and Jar Base Seating
A common issue after replacing parts is leakage, often stemming from improper seating. To prevent this:
- Gasket Placement: Ensure the sealing gasket is flat and evenly positioned in its groove on the blade assembly or jar base. A twisted or pinched gasket will inevitably lead to leaks.
- Jar Base Tightness: When attaching the jar base to the blender jar, twist it firmly until snug. The goal is a secure seal, not excessive force. Test with a small amount of water before blending ingredients to confirm there are no drips.
Cleaning for Longevity
Regular and appropriate cleaning practices are vital for maintaining the performance of your new parts and preventing premature wear.
- Blades: After each use, rinse the blade assembly immediately to prevent food from drying and hardening. For a more thorough clean, blend warm, soapy water for a few seconds, then rinse. Avoid abrasive scrubbers that can dull blades or scratch surfaces.
- Jars: Most Oster blender jars are dishwasher-safe, but handwashing with warm, soapy water is also effective. Pay attention to the threads on the bottom of the jar to ensure they are free of food particles that could affect the seal.
- Motor Base: Wipe the motor base with a damp cloth. Never immerse the motor base in water.
Proactive Measures to Avoid Future Replacements
Minimizing wear and tear can significantly extend the life of your blender parts:
- Respect Capacity Limits: Do not overfill the blender jar, as this can strain the motor and blade assembly.
- Proper Ingredient Preparation: Cut larger, harder ingredients into smaller pieces before blending to reduce stress on the blades.
- Avoid Over-Blending: Blend only for the necessary duration. Continuous high-speed blending can generate excessive heat, potentially damaging the motor or degrading plastic components.
- Check for Wear: Periodically inspect your blades for dullness or nicks, and gaskets for cracks or hardening. Addressing minor issues early can prevent larger problems.
When to Consider a Full Blender Replacement
While replacing parts is often cost-effective, there are scenarios where a full blender replacement might be the more practical decision. If the motor shows signs of failure (e.g., unusual noises, smoke, complete power loss), or if multiple critical components (jar, blade, drive coupling, motor) require replacement simultaneously, the cumulative cost can approach or exceed that of a new unit. Additionally, if your blender is an older model and compatible parts are becoming difficult or expensive to source, investing in a new appliance with a fresh warranty and potentially improved features could offer better long-term value.
Navigating Replacement Part Trade-offs and Potential Pitfalls
While replacing a worn Oster blender part can restore functionality, the market for these components presents a spectrum of quality and compatibility. Understanding the potential trade-offs and pitfalls is crucial for making an informed decision that genuinely extends your blender's useful life rather than leading to further frustration.
Quality Variation: Assessing Aftermarket Options
The market for Oster blender replacement parts includes a range of options, from those closely mirroring original equipment manufacturer (OEM) specifications to lower-cost aftermarket alternatives. Not all replacement parts are manufactured to the same standards, and this variation can significantly impact performance and longevity. Parts that appear similar may differ in material composition, precision of manufacturing, and overall durability.
- Material Integrity: Some aftermarket parts might use plastics that are less resistant to wear or impact, or metals that are prone to corrosion or dulling faster than original components.
- Manufacturing Tolerances: Slight deviations in dimensions can lead to improper fit, causing issues like increased vibration or premature wear on other blender components.
- Performance Expectation: While a lower-priced part might seem appealing, it may not deliver the same blending efficiency or last as long as a higher-quality alternative.
Leakage and Durability Concerns: User Experiences
A common complaint among users who opt for certain replacement parts revolves around leakage and overall durability. Issues often arise with components designed to create a seal or withstand blending forces. Gaskets, jar bases, and even the jars themselves are frequent points of failure if the replacement part is not up to standard.
- Seal Integrity: Replacement gaskets or jar bases may not create a tight, leak-proof seal with the blender jar or motor base, leading to spills during operation.
- Material Weakness: Some replacement jars have been reported to crack or develop stress fractures more easily than original jars, especially when blending ice or hot liquids.
- Blade Longevity: Aftermarket blades, while initially sharp, may dull quickly or develop play in their bearings, leading to reduced blending efficiency and increased noise.
These concerns underscore the importance of carefully scrutinizing product descriptions for material specifications and, critically, consulting user reviews for real-world feedback on fit, leakage, and long-term performance.
Repair Versus New Purchase: When to Reconsider
Deciding whether to repair your Oster blender or invest in a new appliance involves weighing the cost and benefits of each option. While replacing a single worn part is often cost-effective, a series of failures or the age of the blender's core components can shift the balance toward a new purchase.
Consider the following criteria:
- Cumulative Cost of Parts: If multiple key components (e.g., blade, jar, drive coupling) require replacement, their combined cost might approach or exceed the price of a new entry-level blender.
- Motor Health: Replacement parts address external wear, but they cannot fix an aging or struggling motor. If your blender's motor is showing signs of weakness (e.g., overheating, reduced power, unusual noises), investing in new external parts may not be a long-term solution.
- Blender Age and Technology: Older blenders might lack modern features, power, or durability found in newer models. A new purchase could offer improved performance, quieter operation, or enhanced safety features.
- Frequency of Use: For occasional use, repairing a single part might suffice. For daily or heavy-duty blending, a new, more robust unit might be a better investment if the existing blender is showing multiple signs of wear.
Before committing to a replacement part purchase, carefully read product descriptions to ensure compatibility with your specific Oster blender model and note any material specifications. Furthermore, consult user reviews to gain insight into common experiences regarding fit, durability, and potential issues like leakage. This diligence can help mitigate the risks associated with aftermarket parts and inform your decision on whether to repair or replace your appliance.
Frequently Asked Questions About Oster Blender Replacement Parts
Navigating replacement parts can raise several questions, especially when aiming to restore specific performance aspects of your Oster blender. Understanding these common concerns can help you make informed decisions.
Q: How do I find my Oster blender model number?
Locating your Oster blender's model number is crucial for identifying compatible replacement parts. This number is typically found on a label or sticker on the underside of the blender's motor base. In some cases, it might be on the back or side of the motor housing. Look for a series of letters and numbers, often preceded by "Model No." or "P/N." If the sticker is worn, checking your original product manual or the blender's packaging can also provide this information.
Q: Are all Oster blender replacement parts interchangeable?
No, Oster blender replacement parts are not universally interchangeable across all models. While some components, like certain gaskets, might fit a range of older "Osterizer" models, significant variations exist, especially for blade assemblies, jar bases, and jars themselves. Newer series, such as Pro or Versa models, often feature distinct designs that require specific parts. Attempting to use incompatible parts can lead to poor performance, leakage, or even damage to your blender. Always cross-reference the part's compatibility with your specific blender model number before purchasing.
Q: Why is my Oster blender still leaking after replacing the gasket/jar base?
If your Oster blender continues to leak despite replacing the gasket and/or jar base, several factors could be at play:
- Improper Installation: Ensure the new gasket is seated correctly and the jar base is tightened securely onto the jar. An uneven or loose fit can still allow liquids to escape.
- Defective New Part: Although uncommon, a newly purchased replacement gasket or jar base could have a manufacturing defect. Inspect the new parts for any visible flaws or damage.
- Damaged Jar: Check your blender jar for hairline cracks, chips, or imperfections around the rim or threading where the base attaches. Even minor damage can compromise the seal.
- Motor Housing Seal: In rare instances, the leak might originate from the motor housing itself, indicating a more significant internal issue beyond the jar assembly.
Thoroughly inspect all components and reassemble carefully to rule out installation issues.
Q: When should I consider buying a new Oster blender instead of replacing parts?
Deciding whether to replace parts or buy a new Oster blender involves weighing the cost of repair against the cost and value of a new appliance. Consider these points:
- Cost of Multiple Parts: If your blender requires several expensive replacement parts (e.g., a new motor, jar, and blade assembly), the cumulative cost might approach or exceed that of a new, entry-level blender.
- Motor Issues: If the motor is making unusual noises, overheating frequently, or failing to operate, it's often more practical to replace the entire unit. Motor repairs are typically complex and costly.
- Age and Overall Condition: An older blender that has seen extensive use might have other components nearing the end of their lifespan. Investing in parts for a blender with significant general wear might only offer a temporary fix.
- Performance Upgrade: If your current blender no longer meets your blending needs due to outdated features or insufficient power, a new blender might offer a performance upgrade that replacement parts cannot provide.
Making an Informed Choice for Your Oster Blender
Opting for repair over full replacement is a cost-effective strategy that extends your Oster blender's useful life and restores its performance. By prioritizing accurate diagnosis of the issue, verifying model-specific compatibility, and assessing the material quality of replacement components, you're equipped to make sound choices.
This approach not only saves money but also ensures your blender continues to meet your blending needs effectively. Apply the knowledge gained regarding common issues, fit, and component quality to confidently select the precise replacement parts. This empowers you to revitalize your Oster blender, maintaining its functionality and reliability for continued kitchen use.
More in Blender Replacement Parts
View All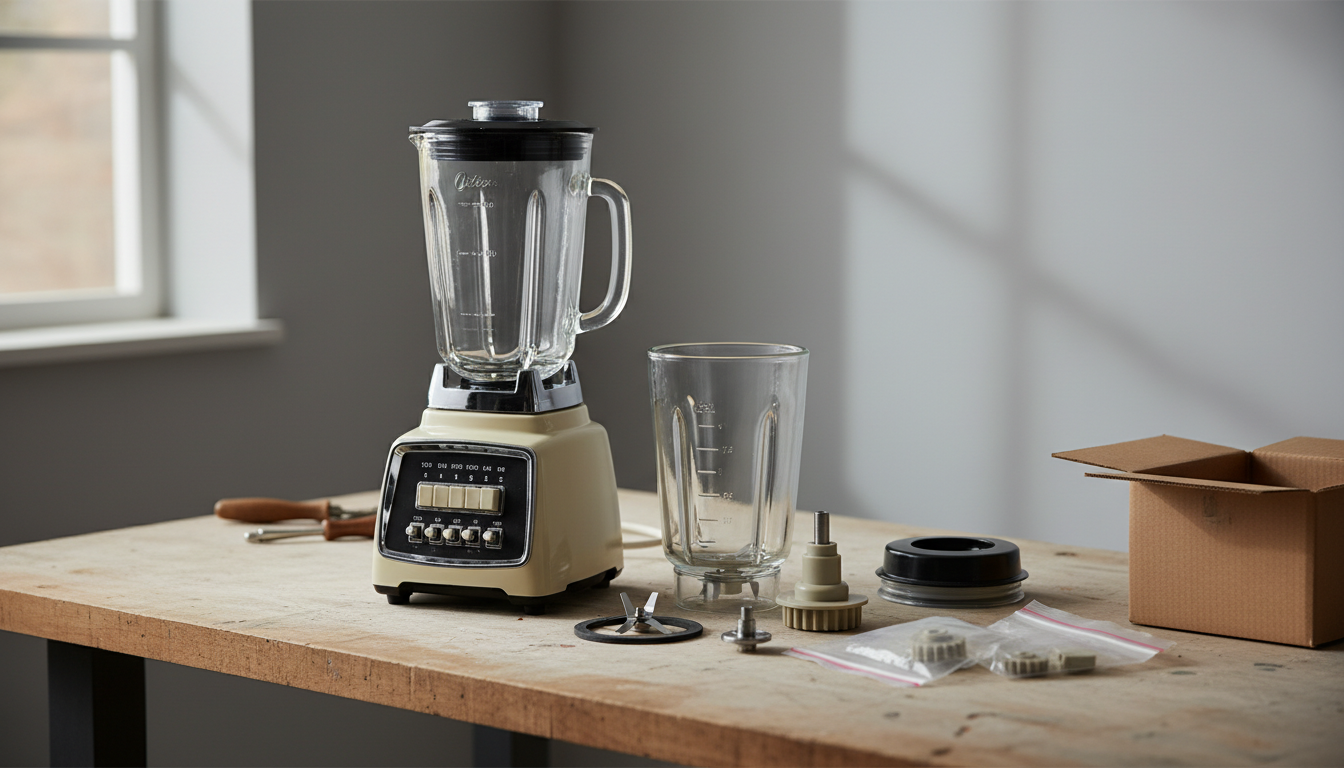
Osterizer 14-Speed Blender Replacement Parts: Keeping Your Vintage Blender Running
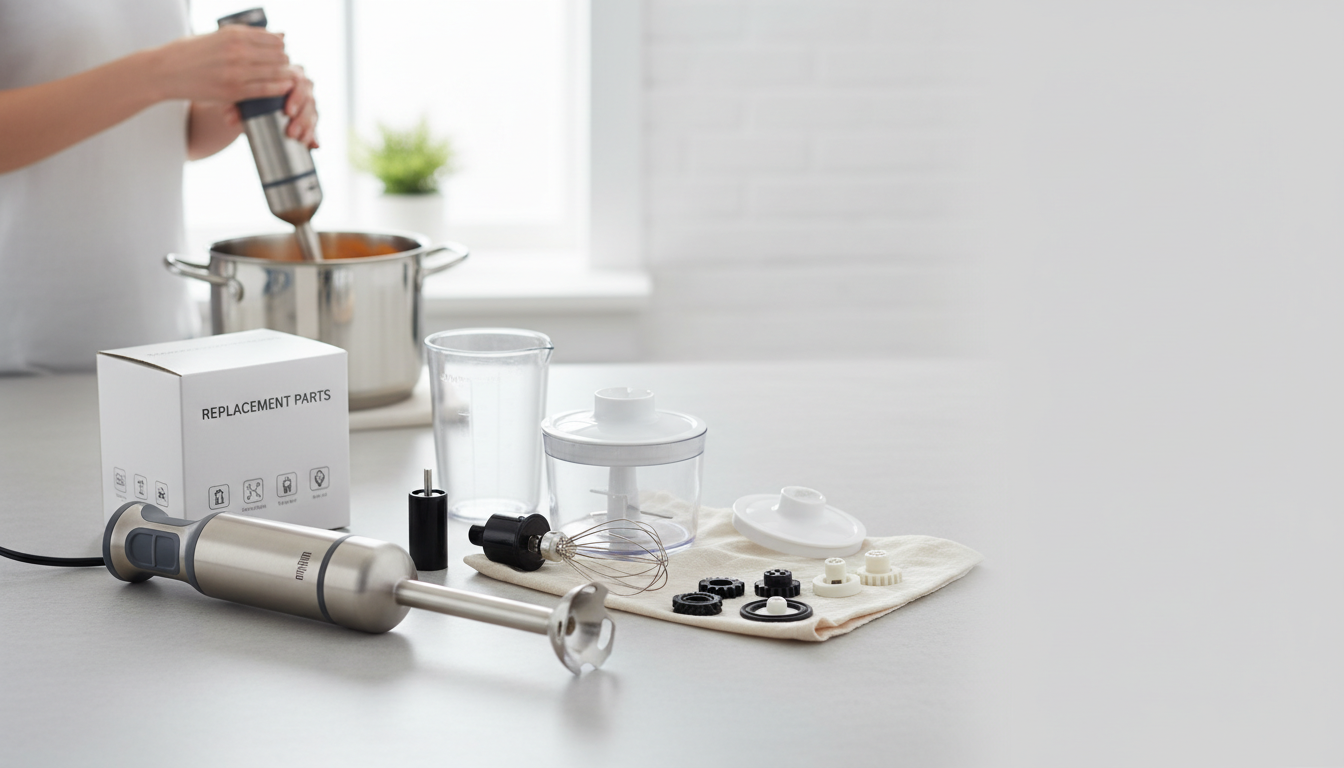
Braun Immersion Blender Replacement Parts: Essential for Hand Blending Tasks